Garage Floor Coatings and Finishes
Transform your garage into a beautiful, durable and long lasting space with garage coatings and garage floor resurfacing from Black Rhino. Use your newly upgraded space for parties, boats, or cars without worrying about the floor. Black Rhino Floors specializes in a number of industrial grade garage floor coatings and garage floor finishes for your garage and residential concrete floors. No matter what floor type you select, floor preparation is a key to any successful installation for long term durability.
We have 4 flooring types appropriate for garage coatings but two of them are by far the most durable and popular for everyday wear and tear. The 4 types are a full concrete mechanical polish, flake, quartz and epoxy resin. If you’d like to review each floor type you can click here to see them.
Wisconsin winters are hard on garage floors. The salt brought in eats away at your concrete. Your tires not only leave marks, but they help grind salt and dirt into your porous concrete. Freezing and thawing cycles crack your concrete. To top it all off, your wet concrete can be a good recipe for slipping and falling. We have floor coatings that can take care of all these problems.
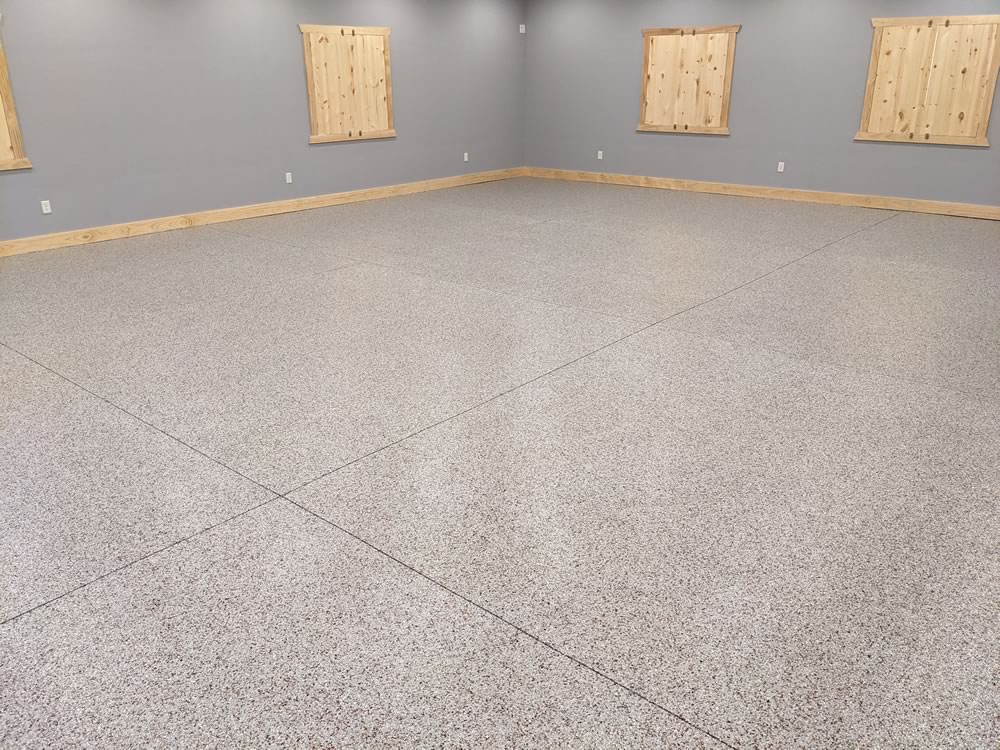
Black Rhino Floors provides garage floor coatings in the Metro Milwaukee area and Southeastern Wisconsin in general. The two most popular flooring types in these areas are quartz and flake. These two coatings provide highly durable, traction control and impervious flooring types that work well with our Wisconsin weather as well as the wear and tear associated with garages. These two types come in a variety of colors and a limitless amount of combinations of colors.

Want to beautify and protect your garage floors?
What to expect from Black Rhino Floors – Our Process
Step 1 - Qualifying
Our first conversation will be over the phone to make sure our floors are right for you and begin narrowing down the application best suited for you.
Step 2 - Consultation
Our next meeting will be at your residence. We will assess your garage, discuss the garage coating type, desired outcome, our process, timing, color selection, pricing (formal proposal is emailed), moisture test and what we need from you in order to deliver a successful project (removal of all items from the garage, power and material disposal).
Step 3 - Final Color Selection
We may need another meeting to present our custom color boards if required based on the garage coating type, application and your want for a custom color blend. See popular color options online.
Step 4 - Schedule the Installation
Customer approves our proposal remits a deposit and the project is scheduled.
Step 5 - Day of Installation
Our professionally trained team will arrive on time the day of the installation with our state of the art, industrial equipment. Installation time varies based on surface prep however it’s generally one day, one day to cure and your back parking on the surface in 48 hours from start to finish. The garage should be emptied prior to our team arriving.
Here’s what happens on installation day:
- Our team will announce their arrival
- We will prep our equipment and attach all power equipment to power sources.
- Prepare our work space. (Proper work space preparation eliminates damage to other surfaces from accidental spills).
Step 6 - Surface Clean & Prep
- We will remove all grease, oil or surface contaminants for proper adhesion.
- We will grind your floor with our diamond tooling.
- After grinding, we will repair cracks and any surface damage.
- We will then grind the surface one more time ensuring a flat surface with the proper CSP (Concrete Surface Profile – Our resins manufactures requires this for long term adhesion) A CSP is simply creating a surface with enough texture for the resins to grab on to for the best, long term adhesion.
- If a moisture barrier or contaminant treatment is needed we would apply it at this time and then return the following day to continue the next steps.
Step 7 - Floor Installation
- If cove base has been selected by our customer, we would install it at this time.
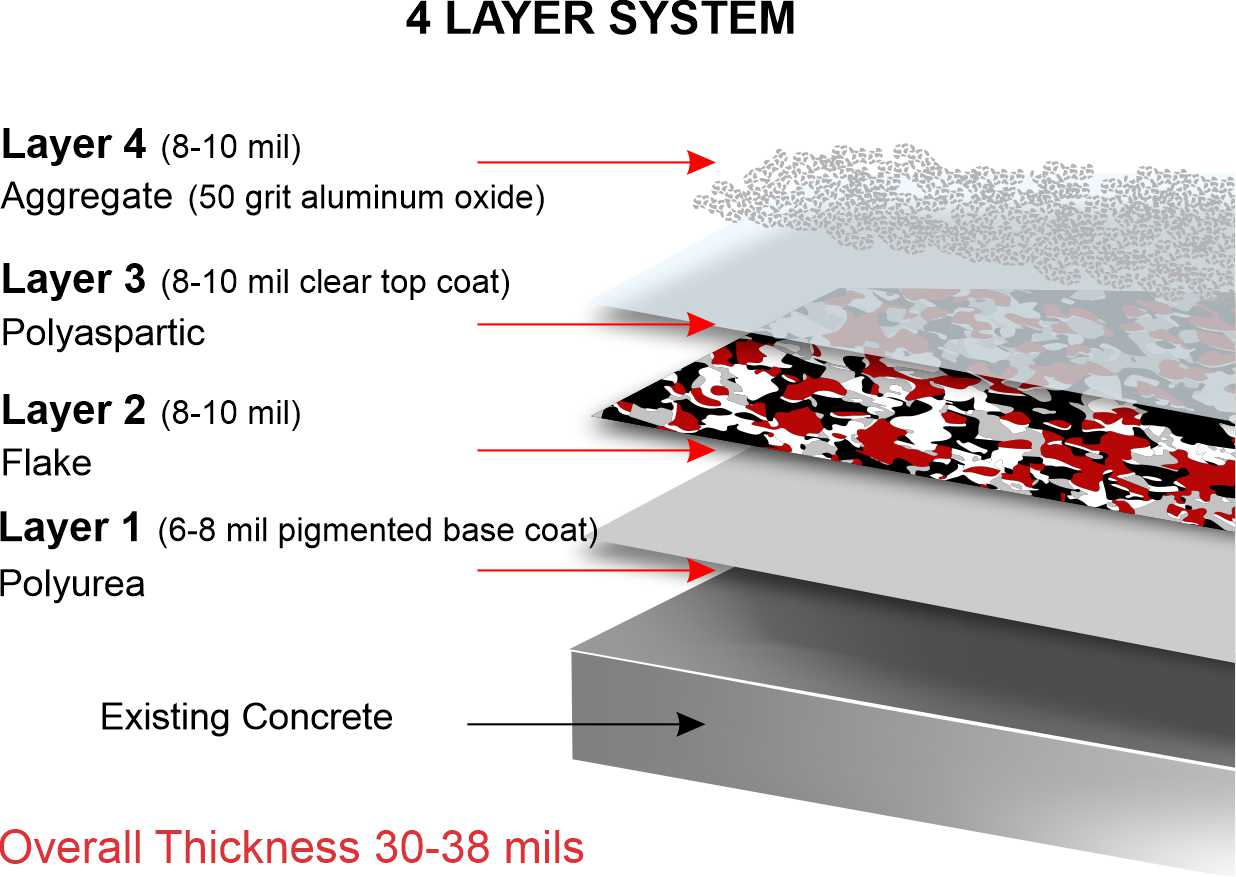
- If not, we will apply a resinous layer (polyurea – one of the highest adhesion ratings) to broadcast our fakes or quartz into. This polyurea resin will either be tan or gray based on the base color of the flake you have selected.
- While the resin is wet, we broadcast (like feeding chickens) the flake / quartz onto the floor. We apply 2-3 times the actual amount that will remain when the resin is dry in order to obtain a nice full, consistent coverage.
- Our flake system is a one coat broadcast and quartz system is a two coat broadcast.
- Once the resin is dry (dries in about an hour and half) we will remove the excess flake, scrape the floor to make sure none of the flake is sticking up, sweep and vacuum the extra flake or quartz.
- If a customer has ordered a logo, we will it at this point.
- Lastly we will apply one of the best, if not the best, most durable top coats, known as polyaspartic. If you have selected quartz, then we will apply two sealer coats (a grout coat and a top coat)
- The floor will be dry in 1-2 hours to the touch, 4-6 to light foot traffic and fully cured in 24-48 hours. You can be parking in your garage once again in 24 hours after the completion of the installation.
Once we’re finished you’ll absolutely love your new garage floor, we guarantee it!
Considering a project? Allow our great staff to layout the best options for you to choose from, you will be delighted. Call 262-573-0428 today!
Contact us for a free consultation today

