Concrete Floor Stenciling and Graphics Application
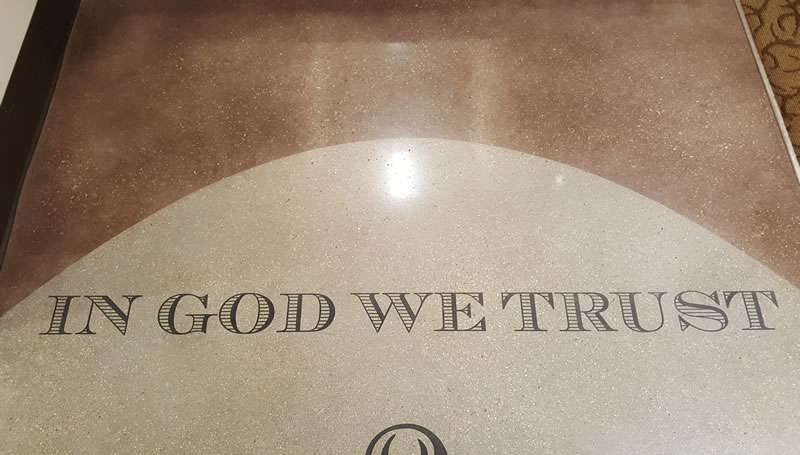
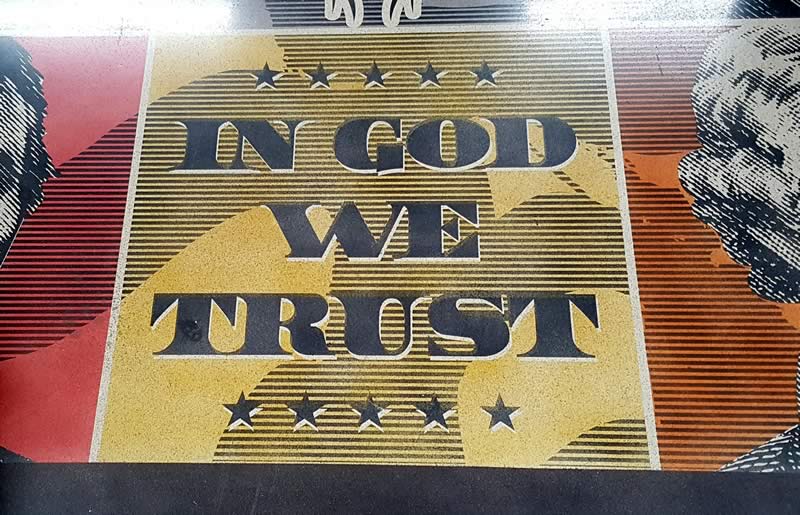
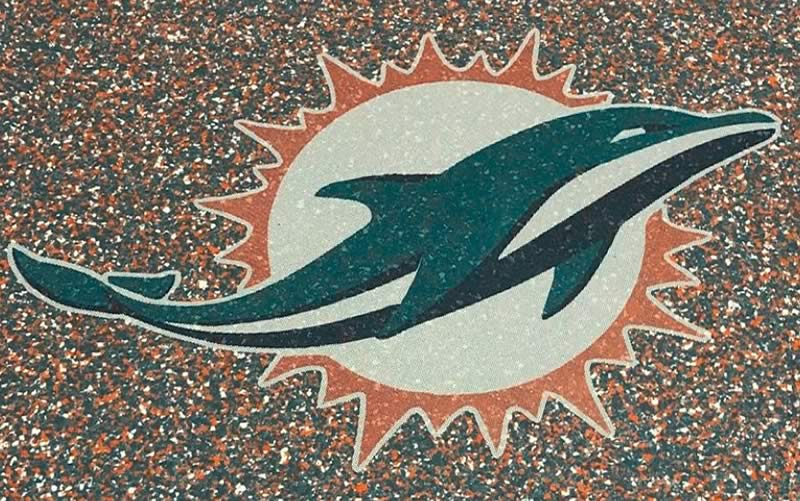
Logos and graphics are a great way to personalize your residential concrete floor or grow your brand by adding your favorite Nascar drivers number or company logo in a commercial or industrial environment. While adding your brand to websites, business cards, truck wraps, coffee mugs and apparel, Black Rhino Floors would be glad to extend your brand voice by adding it to your concrete front entrance, warehouse or factory floor. There are many ways to add graphics to a concrete floor but we use technology that makes it possible to install high quality digital images.
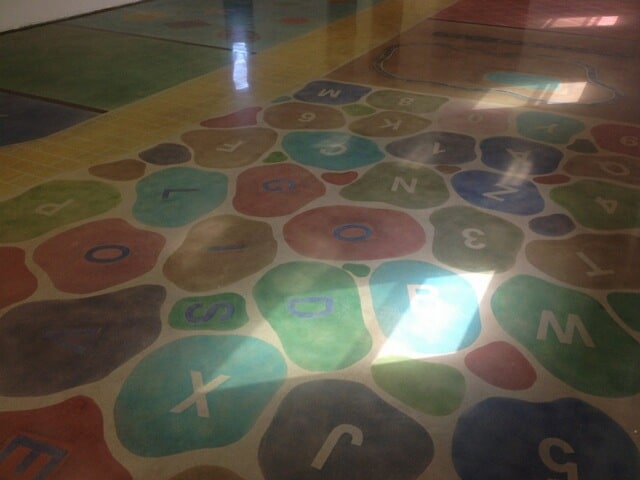
When it comes to concrete and our floor services, your options are endless! Graphics can either add an accent to your floor, draw your attention to a logo or completely transform the overall appearance of a floor. Here is an example of a graphic covering an entire floor.
Our most popular flooring options for stencils are a full mechanical polish, flake, quartz or epoxy floor. See color options here.
Floor Stencil Techniques
Our Process to install a Mechanically Polished Concrete Floor
In this process we use dyes that stain the concrete in order to achieve the desired outcome.
This is normally applied at the 400 grit polishing step
Design
- Determine the design and color of the logo or pattern
Vinyl Print & Preparation
- Print off the vinyl stencil.
- If there are multiple colors, each color will be on it’s own
layer (It’s critical to use the correct adhesive vinyl otherwise it
may leave visible residue behind).
Installation
- Measure and lay out the stencil.
- Tape down the stencil and test stain colors.
- Apply the stencil with a lint cloth and a squeegee tool.
- This process requires two people. Remove one half of the
backing so the adhesive is exposed and can be adhered to
the concrete surface. - Once the stencil is down. Take your color and begin to apply
it to the concrete. - Wipe the excess with acetone.
- When the dye is dry, remove the stencil and repeat these
steps for as many colors as in your logo, if you have tight
registration guidelines. If you don’t have tight registration,
you can apply multiple colors per stencil layer.
Resume Mechanical Polish Process
- If we are adding color to the entire floor, we would do it at
this point. - Densify the concrete (fortifying it from the inside out).
- Continue the polishing process to the agreed upon finish;
flat, satin, semi-gloss or gloss.
Our Process with Flake, Quartz or Epoxy Floors
In this process, instead of using a dye to stain the concrete floor, we will print the single or multi color logo on a mesh or solid adhesive vinyl.
Design
- Create the graphic design.
Vinyl Print & Preparation
- Print off the vinyl stencil.
Installation
- Measure and lay out the stencil.
- Apply the stencil with a squeegee tool.
- This process requires two people. Remove one half of the backing so the adhesive is exposed and
can be adhered to the concrete surface. - Make sure the stencil is completely adhered.
- We then add a topcoat to the floor, sealing the graphic in the floor.
Contact us for a free consultation today
